
Step 1
|
|
|
 |
 Creating an Account
When the phone rings, you need to know how to get that customer into your database; this is how you do it.
Accounts are a broad category that can be tracked by different Account Types such as customers, business contacts or vendors.
To learn about how accounts work, watch the video below:
Video Index
- 0:00 – 0:19 – Description of Accounts
- 0:20 – 0:25 – Quick Add New Account
- 0:25 – 0:57 – Creating Account Name
- 0:57 – 1:53 – Address and Phone Numbers
- 1:54 – 2:30 – Categorizing
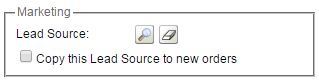
- 2:31 – 4:10 – Lead Source
- 4:11 – 4:22 – Saving
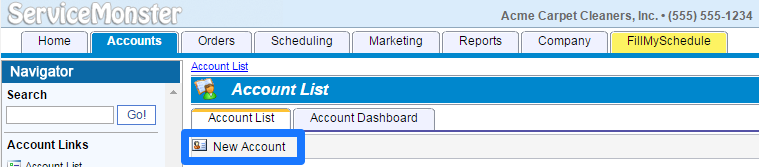
Create an Account
Try creating an Account on your own, you can use your own information as an example:
- Click on the Accounts tab.
- Click the New Account button.
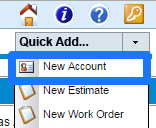
Also, you can add an Account using the Quick Add menu in the upper right hand corner.
Account Name

- Account Name – Required field. Automatically generate by adding First Name and Last Name and then click gear icon.
- Memo – Quick note about the Account.
- Active – Instead of deleting accounts, change them to Inactive by unchecking the box. Deactivated accounts only show up in the All status on the Account List.
- Alert – Places a yellow box around this section.
- Review – Adds Account to the Review List.
General Info
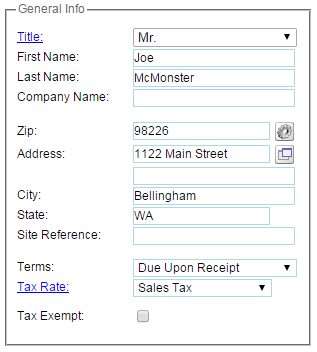
- Title – Add title for Account.
- First & Last Name – After these are entered, click the gear icon next to Account Name to generate.
- Company Name – Used for Commercial accounts.
- Zip – Enter zip code and click gear icon to generate City and State.
- Address, City, State – Fill in information.
- Site Reference – Add cross street or neighborhood if desired.
- Terms – Choose between:
- Due Upon Receipt
- Net 15
- Net 30
- Net 60
- Tax Rate – Assign a Tax Rate for the Account. How do I create a Tax Rate?
- Tax Exempt – Click if Account is tax exempt.
Marketing
Contact Info
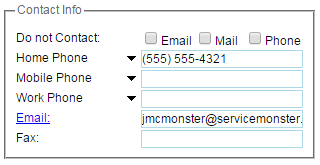
- Do not Contact – Select if customer decides to opt-out of marketing.
- Phone Number – Place the primary phone number in the top field. Change type of phone by clicking black down arrow.
- Email – Add customer’s email address.
- Fax – Add fax number.
Categorizing
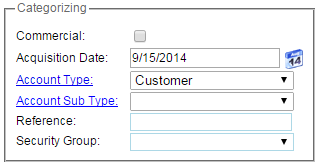
- Commerical – Check box for commercial accounts.
- Acquisition Date – Auto fills to date that account is created.
- Account Type / Sub Type – Used to categorize accounts. Add types by clicking on <new value>.
- Reference – Used to add keywords that are available when searching.
- Security Group – Not used.
Job Status

- Status bar shows when Last Job and Next Job are scheduled.
Open Orders
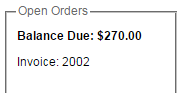
- Shows balance due as well as any orders that are in progress.