There are five different types of campaigns that you can create in ServiceMonster.
- Emails
- Letters
- Labels
- Call List
- Export
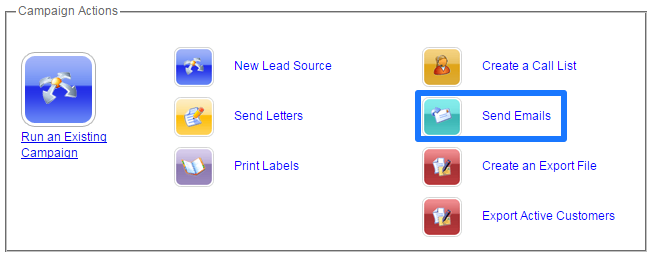
Each wizard walks through the same process to create a campaign, just with a different end result. For this example, let’s create an Email Campaign.
- On the Marketing Navigator, click on the Send Emails button.
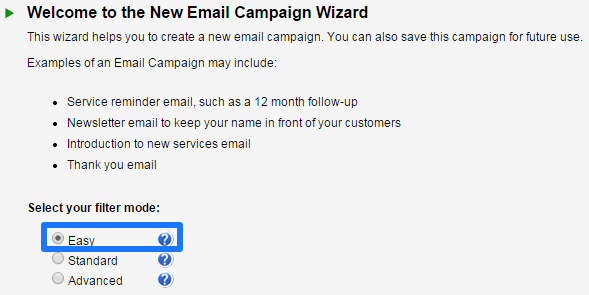
- The first step in the Wizard is to choose the filter mode. There are three filter modes to choose from:
- Easy – provides 11 basic filter groups to come up with a list of accounts. Recommended for first time users.
- Standard – gives more options to create custom filtered list.
- Advanced – starts campaign from scratch and all filters are added manually.
- For this example, let’s choose the Easy filter mode.
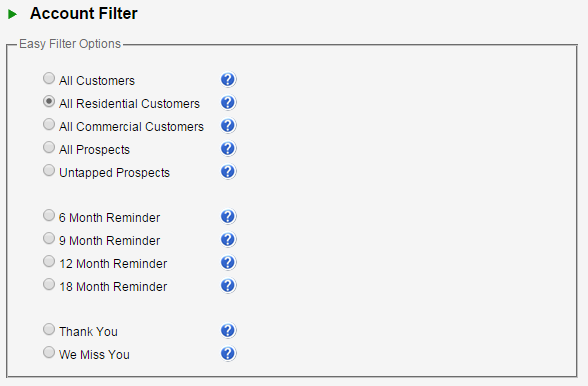
- The next step is to choose the Account Filter from the list of options. The
 displays a brief description of the filter. Click on All Residential Customers and click Next.
- Next, the Account List screen will show the Accounts that have been filtered based on the chosen criteria. The top of the screen will show a breakdown based on Accounts Found and Accounts Filtered. Click either option to toggle the list.

- The next step is to enter the Campaign Info. Change the name to be specific for this campaign, for example Spring Newsletter.
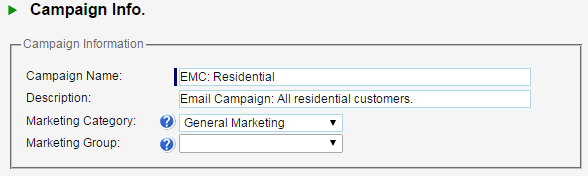
- Click Next and you will have the option to Save Campaign by clicking Finish.
 |
Now that your campaign is created, we will look at customizing your filters. |
 |