After you create your campaign, you will be directed to the Marketing Details. This is where you can fine tune the campaign to reach your target audience by adjusting the filters. Filters are a powerful tool that pull from many different places within ServiceMonster to create your campaign.
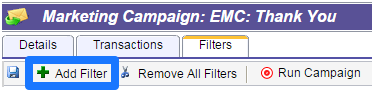
- To add or adjust filters, click on the Filters tab.

- To add a filter, click on the Add Filter button. This will add a filter to the list.
- Choose a filter from the drop down menu and two fields will be added to the right. As an example, you can filter by Average Invoice amount by choosing the Order: Average Invoice filter.
- Select an expression from the drop down menu. For this example, select Greater Than.
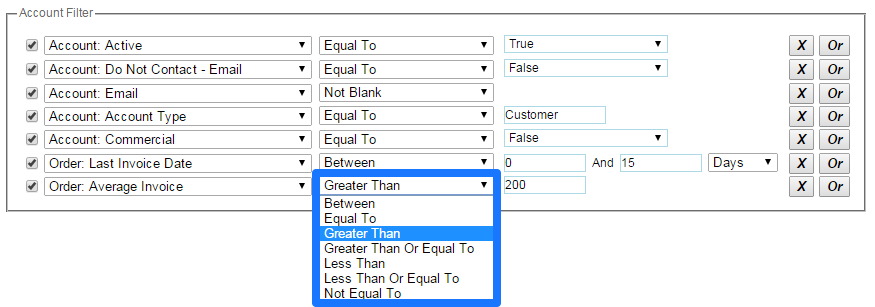
- Next to the expression, enter a value. Once these three fields are added, this filter will include customers with an average invoice of more than $200.
- Once you have finished editing the filters, click on the Save button.
Advanced
There are several advanced ways to use filters as well. Here are some examples:
- To include multiple filters based off of the same field, click on the Or button. This would be useful to add multiple zip code or city filters.
- Include the filter Contact: By This Campaign to not send duplicate emails to a customer within a certain time frame [i.e. 30 days].
- To see a preview of which customers are included in the campaign, click on the number next to Accounts found.
- When creating an Export Campaign, uncheck the box on the left of the filter to not filter by that field, but include it in the list.
- To remove a filter, click on the X button.
 |
Your filters are getting your message to the perfect audience, now it’s time to run your campaign |
 |