RocketHeader

Day 5- Mobile: On the Go!

button (2)
Day 4
  Your done!

 Track Time-In and Time-Out


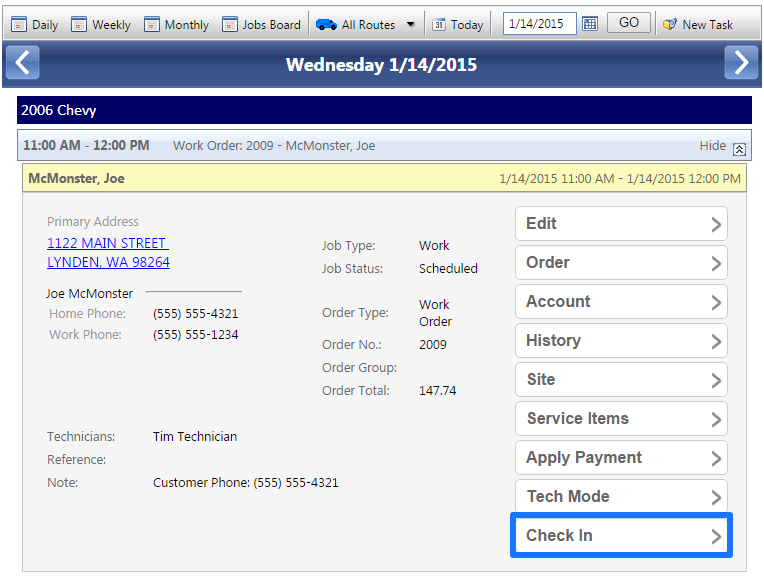
Whether you’re the tech or you have a whole team of specialists, you’ll need to know how much actual time was spent on the job. Enter: the check in/check out button.

Track the actual time that a Technician spends on a job for auditing and payroll purposes.

Mobile

  1. Login to Mobile at mobile.servicemonster.net.
  2. Select Schedule and select the Jobs Board view.
  3. Select the job that you would like to check in to.
  4. In the Job Details menu, select Check In at the bottom of the window.

Check In

  1. This will add a Check In time stamp to the bottom of the Job Details.

Check In - Time

  1. Once the job is complete, select the Check Out button to add a time stamp.

Check Out - Time

  1. By selecting Check Out, the status of the job is also changed to Completed.

Check In - Job Completed

Full Version

Now that the job is complete, here is where you can find the start and end times in the full version of ServiceMonster.

  1. Go to Schedule and click on the Job.
  2. Click on the Extended tab.

Check In - Job Box

  1. The Technician’s start and stop times will be recorded in the the Actual Start and End fields.

The Report

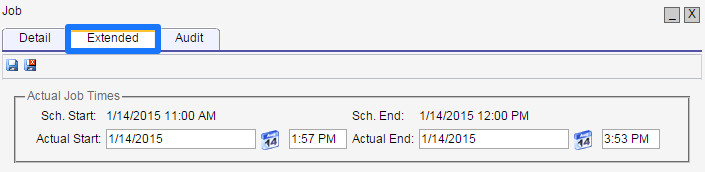
To view the actual times that your Technicians spent on a job in a report:

  1. Go to Reports.
  2. Under Miscellaneous, click on Technician Jobs to view the report.

Check In - Technician Jobs


Getting the Customers Signature


Get your customer to sign their invoice on the spot, apply payment, and email a copy to them, all before you’re back in the van.

The following steps will take you through Signature Capture, which allows you to add customer signatures onto your work orders, estimates, and invoices from your mobile device.

How do I access Signature Capture?

  1. From any browser, go to mobile.servicemonster.net.
  2. Login with your ServiceMonster company ID, username, and password.

Where is Signature Capture Found?

1. Click Orders Tab > Click an Existing Order Number

screen1

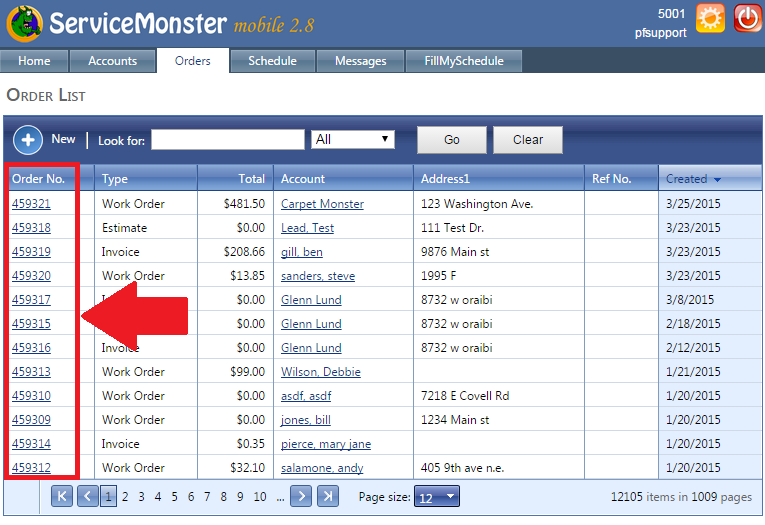
 2. On the order summary page click on the Sign button. You’ll see the Signed Orders tab where the signatures will be saved after signing.

Untitled
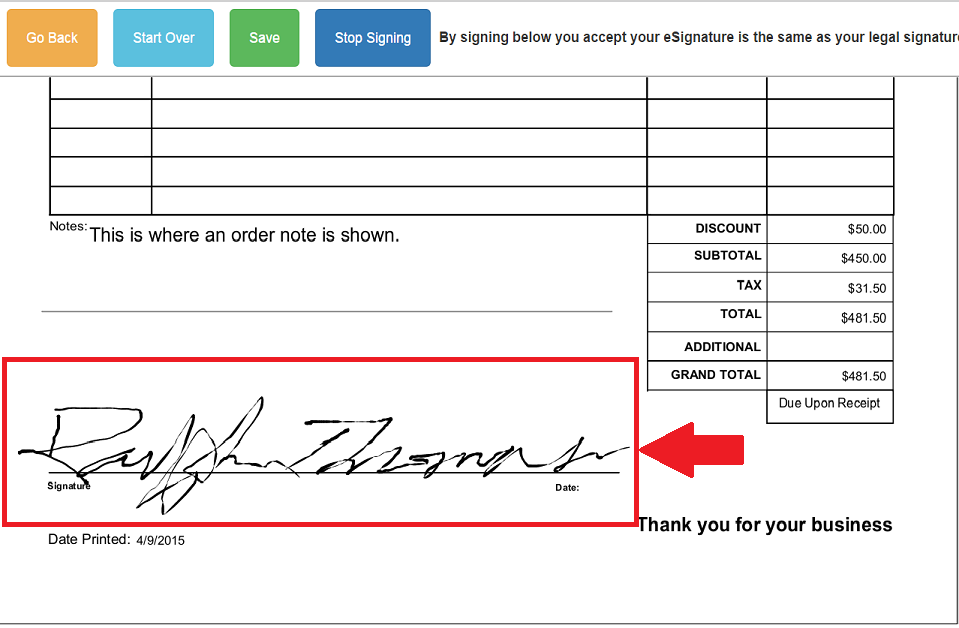
3. The order form will appear on the following page, where you can annotate and sign anywhere on the form.

Signature Navigation 

  • Go Back – Takes you back to the Order Details page without saving.
  • Start Over – Resets the form and erases all signatures and annotation.
  • Save – Saves the form to the Signed Orders tab for this specific order.
  • Start/Stop Signing – Starts and stops the ability to sign and annotate on the form.

 signature order form

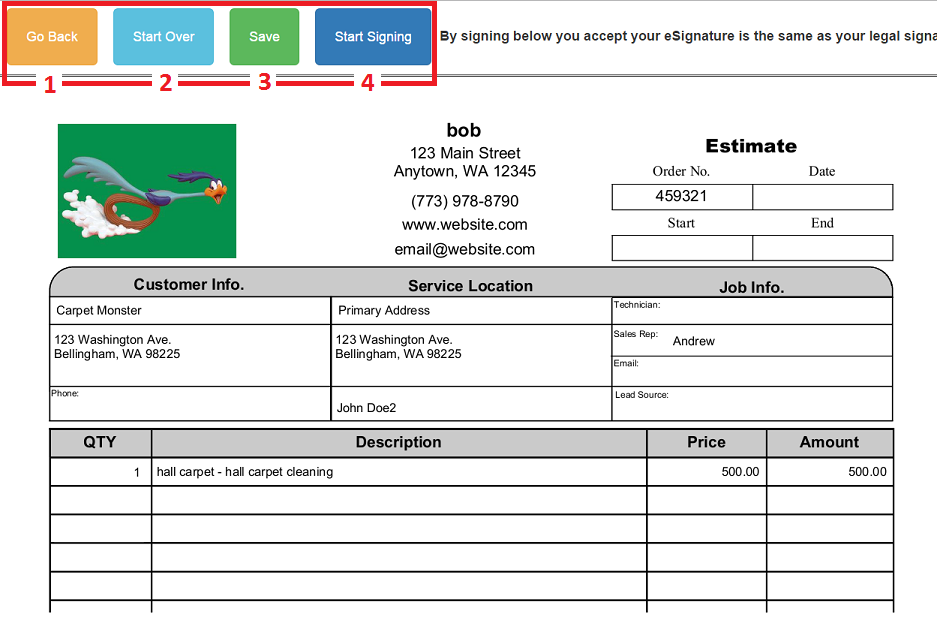
4. Below shows an example of a signed form:

signature

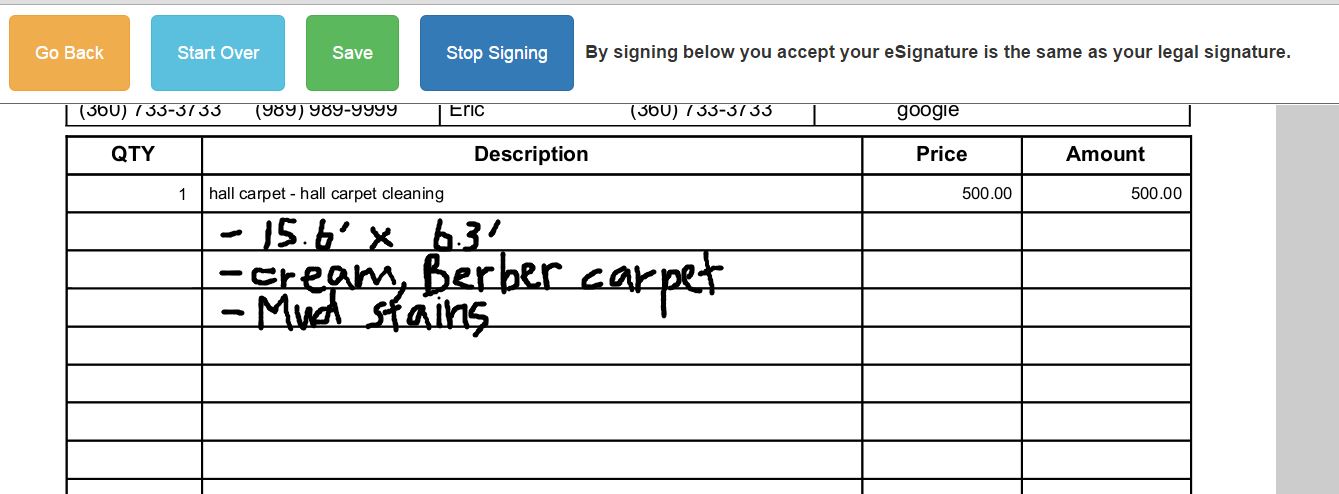
5. To annotate an order while inspecting the house, simply use the Start Signing and Stop Signing features you would use for a true customer signature:

annotation

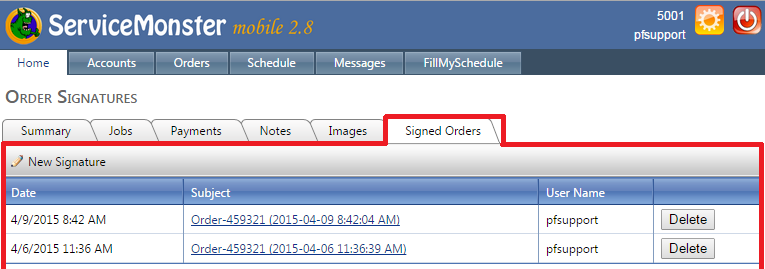
6. Once the form is saved you can find it under the Signed Orders tab within a specific order. It can be downloaded, printed, emailed or deleted as needed.

signed orders

 Tips

  • Multiple form PDFs can be saved to an order.
  • You can also view the saved PDF forms within the desktop version of ServiceMonster.


Before and After Pictures


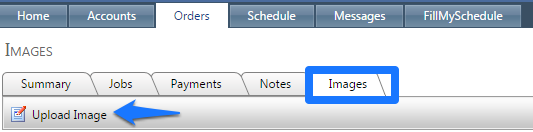
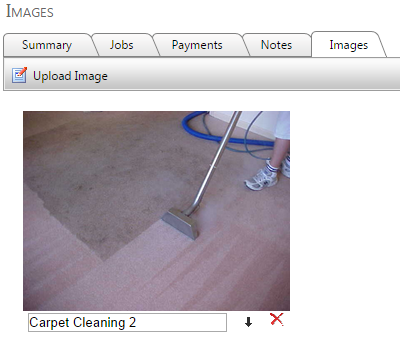
Take pictures of the rooms before you start work and pictures of the rooms after you’re done. The “Before” images are really helpful for your techs, to make sure you’re on the same page, and both images are great to send the customer! They can also help you get paid on insurance claims; faster.

  1. In ServiceMonster Mobile, Go to Orders and select an Order.
  2. Within the order, select on the Images sub tab.

Mobile - Upload Image

  1. Select Upload Image.
  2. The file chooser will open with options to take a photo or gallery [depending on operating system]. Click the images you are wanting to attach to the order. Files must not exceed 6 megabytes in size.
  3. Select Open.

Mobile - Image

  1. The images will be viewable on the Images sub tab.

Email Images

  1. In ServiceMonster Mobile, Go to Orders and select an Order.
  2. Select the Email button in the toolbar.

Mobile - Email

  1. The New Email box will open.
  2. Select the Images button.

Mobile - Attach Image

  1. Image Select screen will appear.
  2. Click the images you would like to include in your email and click Use Selected Images.

Image Select

  1. Images will be listed under the Attachments section of the email
  2. Click Send.


button (2)
Day 4
Well done! You are well on your way to using ServiceMonster!


What’s Next?

Want to Learn more about other features? Just ask us. We are always happy to help.

Need more jobs?  What about setting up some Do it yourself marketing?

Not enough time for DIY marketing? How about Automating Thank You and Reminders (FMS) for your clients?