For Gmail users, the process to set up the integration between email and ServiceMonster is a little more involved. But it’s well worth the effort! You’ll be able to see emails sent through ServiceMonster the same way you’d see any email sent directly through Gmail: in full detail.
Gmail settings section:
To integrate your Gmail account with your ServiceMonster account:
- Go to Gmail’s Security Settings at https://myaccount.google.com/security (you’ll need to be signed into your Gmail account).
- Scroll to the Signing in to Google area:
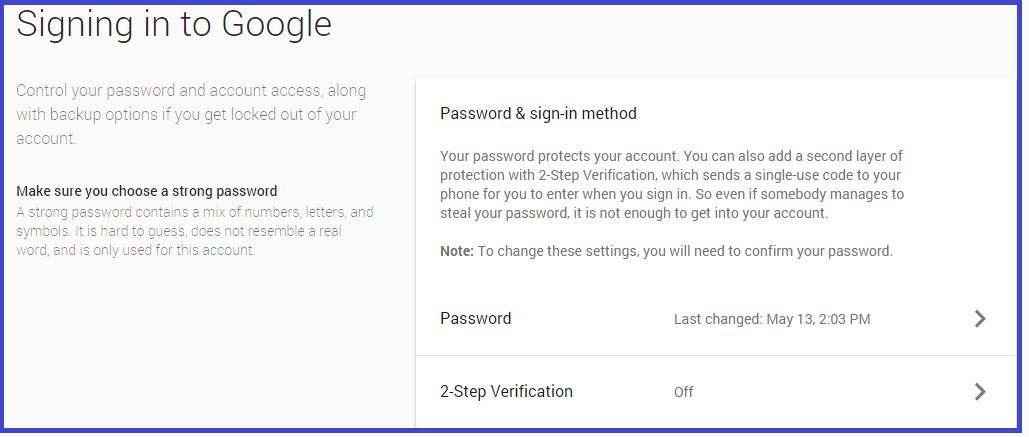
If your 2-Step Verification is already on:
Skip to the App Passwords section, click here.
If your 2-Step Verification is off:
Click on the right arrow next to 2-Step Verification.
Click Start setup
Sign into your account again
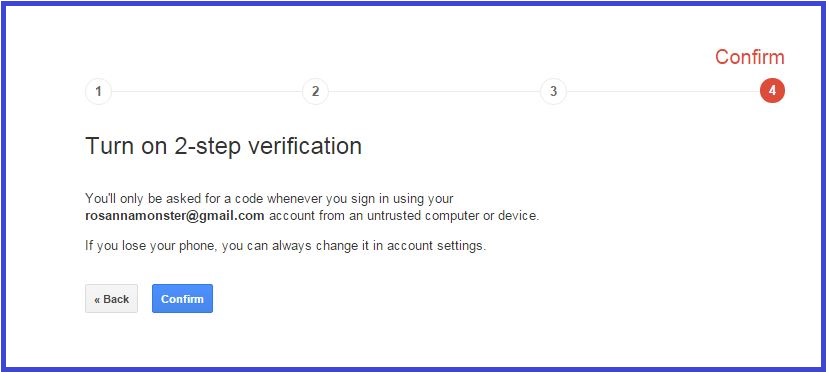
Go through the 4-step process:
This process will require you to give Google your phone number, to receive an access code. Note: If this is an issue for you, you have another option: Gmail No-Phone verification, click here.
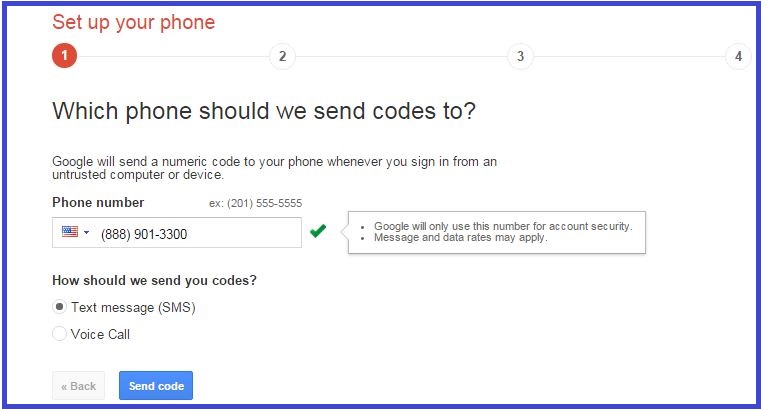
Step 1: Enter your phone number, then click on Send Code:
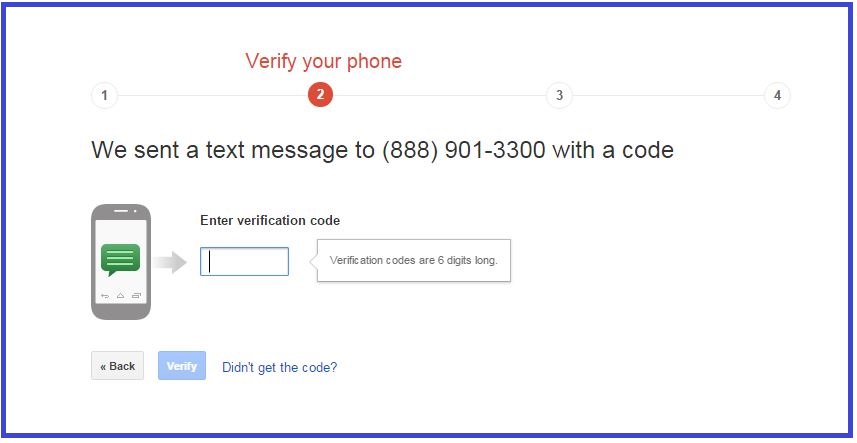
Step 2: Enter the code you received, then click on Verify:
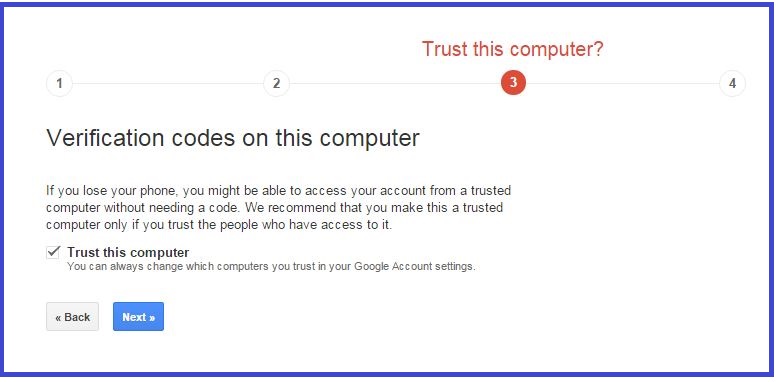
Step 3: Leave the checkbox (“Trust this computer”) checked, then click on Next:
Step 4: Now click on Confirm:
- If you’re offered the option of reconnecting your apps, you can either do it now or later.
You should now be at the 2-Step Verification menu: you’ll see your phone number listed in the Verification Codes tab.
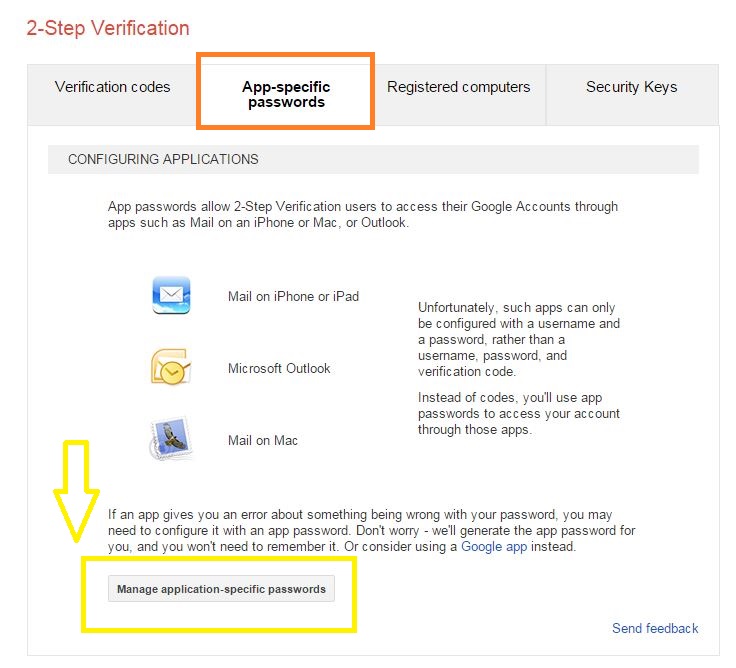
- Click the App-specific passwords tab
- Click the button at the bottom, Manage application-specific passwords:
- Sign in again to verify your identity or view the App Passwords list.
App Passwords section:
At the bottom of the list of current app passwords (the list will be empty if you have just turned on 2-Step Verification for the first time).
- Click Select app
- Click Other (Custom name)
- Give the app a name (ex. ServiceMonster)
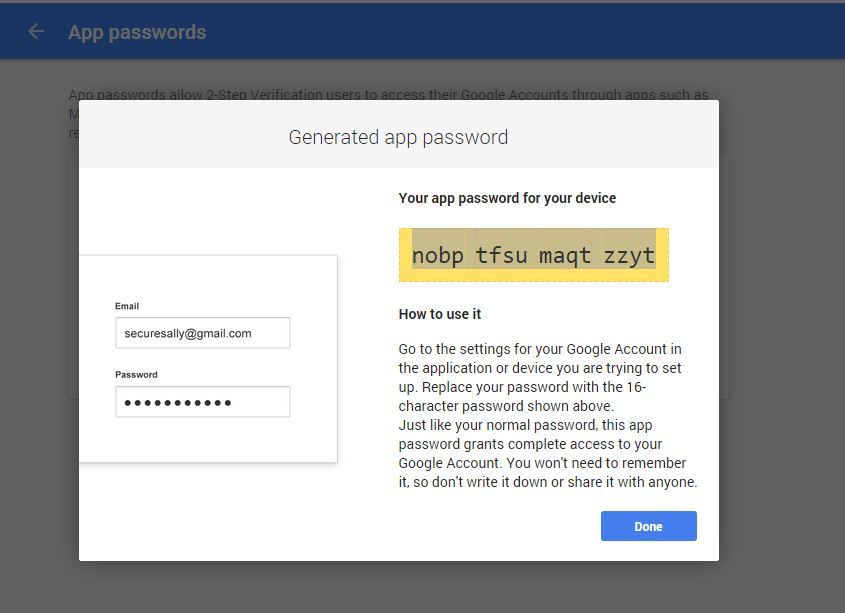
- Click Generate
After a couple of seconds, you’ll be provided with a randomly-generated password, as seen below:
ServiceMonster steps:
Step 1: Now that you’ve allowed access to Gmail, open ServiceMonster in a new tab. Sign into your account.
Step 2: Go to your Company tab. In the Navigator column on the left, click on Email Settings. Here is where you’ll enter your information, to link your ServiceMonster account with your Gmail account:
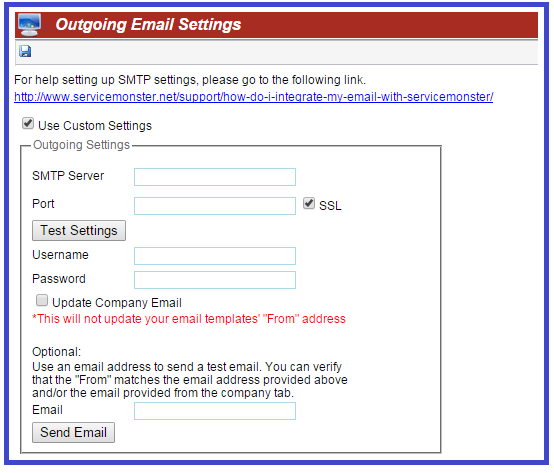
Step 3: Check the box next to “Use Custom Settings”, and enter your information:
- SMTP Server: smtp.gmail.com
- Port: 587
- Username is your email address (ex. someone@gmail.com).
- Password is the 16-digit randomized password Gmail just gave you.
Options:
- Test the SMTP Server and Port setting:
- Click the Test Settings button
- This will not check your email address or password validity, it will just check the server and port.
- Update the new email address to your Company tab:
- Check the box next to Update Company Email
- Send a test email:
- Enter a different email address to the one you just integrated with ServiceMonster
- Click the Send Email button
Step 4: Be sure to save your custom email settings by clicking on the blue floppy disk icon in the upper left corner.
And now you’re all set! Any email you now send from ServiceMonster will be sent from your Gmail account, and will save a copy of the email in the Sent Mail folder, just as any other email would. You’ll be able to see what you sent your customer, you can resend it if necessary, and you’ll receive notification if any email does not go through.
More Options:
If you’d like more information on Two-Step Verification, and more options for using it with your account, Google Help has some resources available to you:
- Google’s info site about 2-Step verification can be found at: google.com/2step
- Here is a video from Google about How to Use 2-Step Verification Without Your Phone
- Here is a video from Google about Using Apps with 2-Step Verification
One Response to “How do I integrate my Gmail with ServiceMonster? (2-Step Verification)”
cesar
I have done all this with no luck, i already have the 16 digit password from google and it says authentication required, any suggestions?